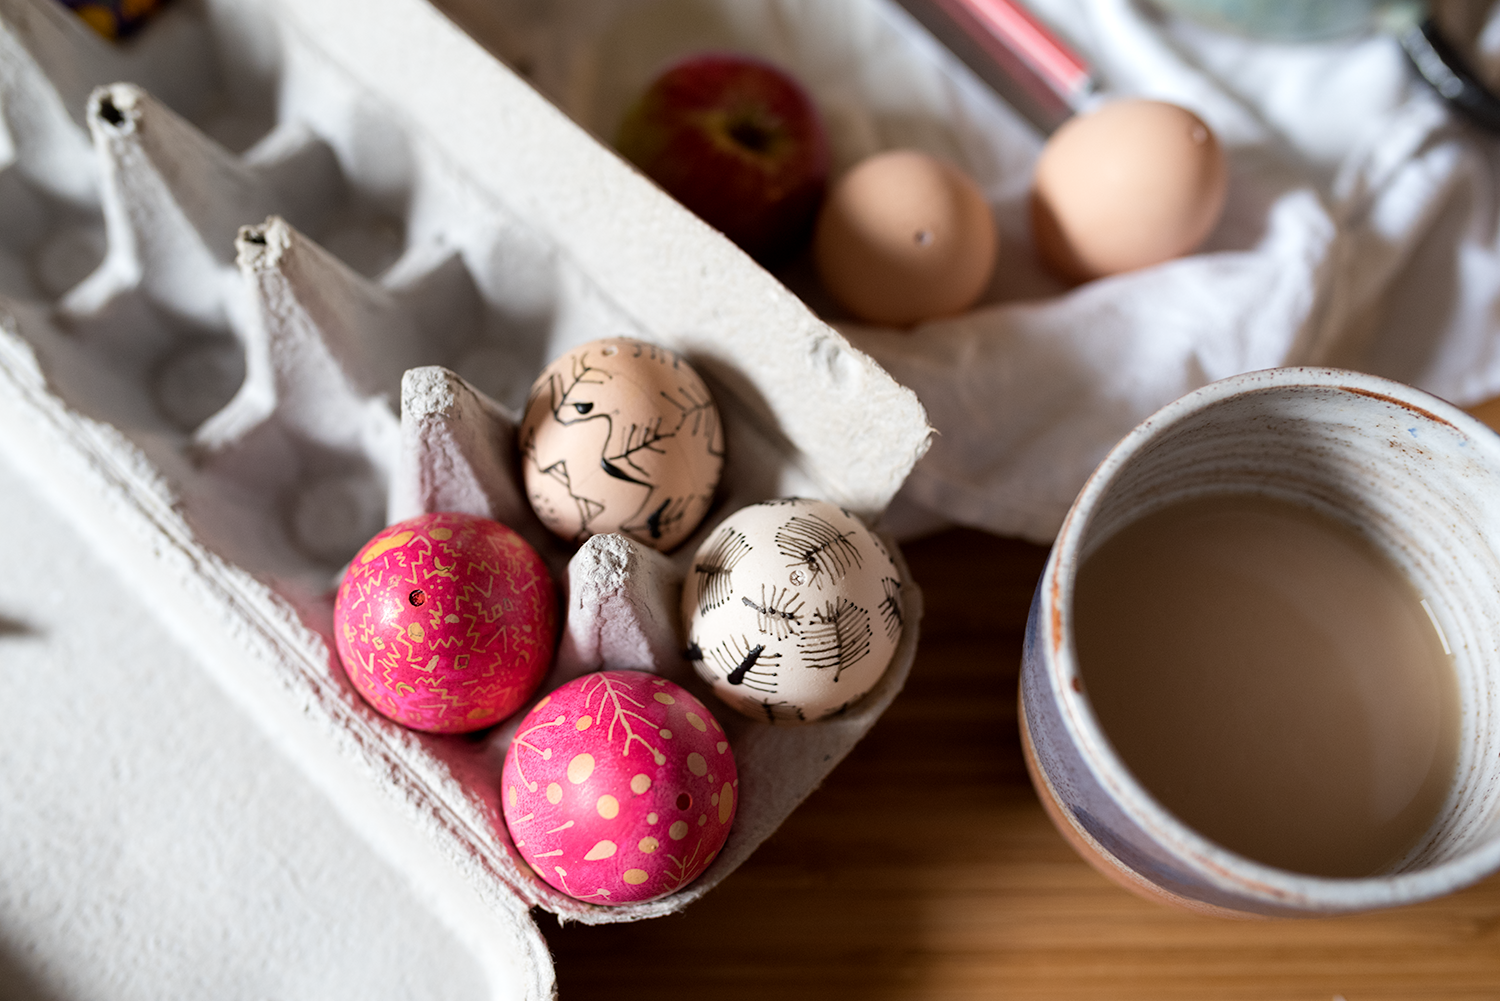
How is it possible that I've only just discovered the art of pysanky, ie: the decoration of eggs with fun patterns, using beeswax?! I do vaguely remember doing some basic egg decorating as a child, maybe using a fern and a stocking and some dye. But being able to 'draw' really detailed patterns onto an egg using a fine tipped wax pen, called a kistka, is so much more fun.
If you're at a loose end over Easter and you can get your hands on a kistka, some wax and dye this week (hello, online shopping!) I'd highly recommend giving it a shot yourself. Below is a really basic tutorial, with the method my friend and I used - it really is so simple!
PYSANKY EGG DECORATING
TOOLS
Eggs (free range of course!) - try a range of shell colours and sizes
A pin
A small screwdriver
A kistka hot wax tool
Beeswax
Dye
Hairdryer
Paper towel
METHOD
Wash your hands thoroughly. You want to remove any natural or other oil from your skin, to make sure you don't transfer this to the eggs - it will stop the dye from penetrating the shell.
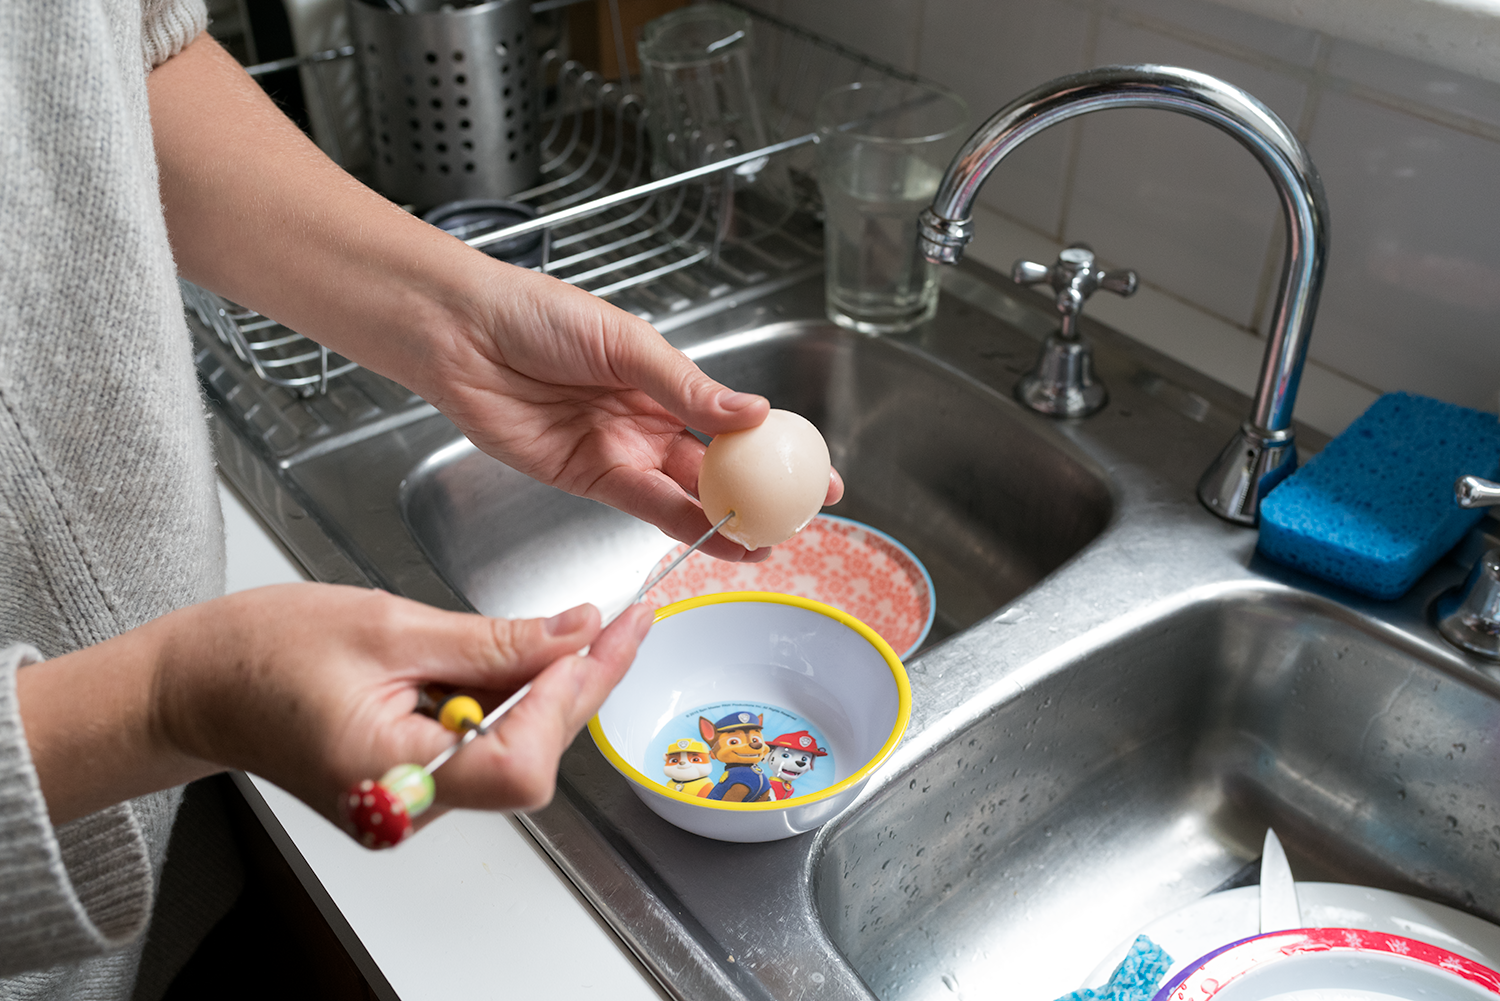
Hollow out your eggs. Prick a hole at each end using a pin and then use a small screwdriver to make a slightly bigger hole, being careful not to crack the egg. Blow the eggwhite and yolk into a bowl and use in baking, or make some scrambled eggs for lunch.
Light a candle and hold the kistka tip in the flame to warm it up. Scoop the tool through the beeswax to fill the well with hot wax.
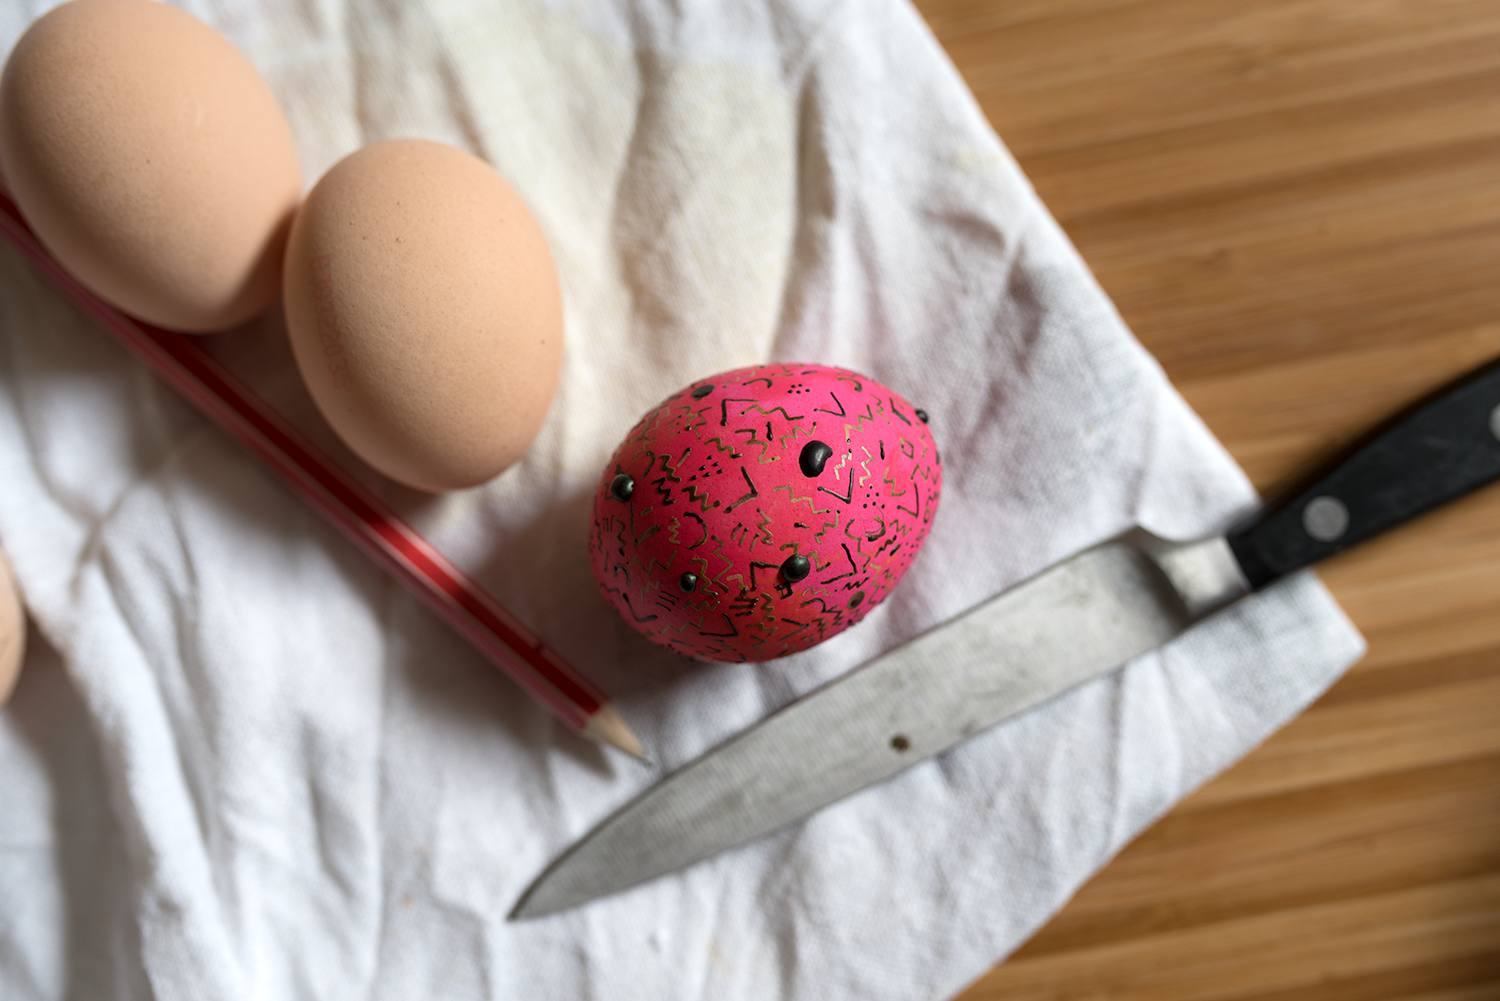
Decorate your egg using the kistka. You can transfer a pattern onto the egg using a pencil, then trace it with the tool. Or go freehand and decorate however you want. If you need some inspiration, hello Google!
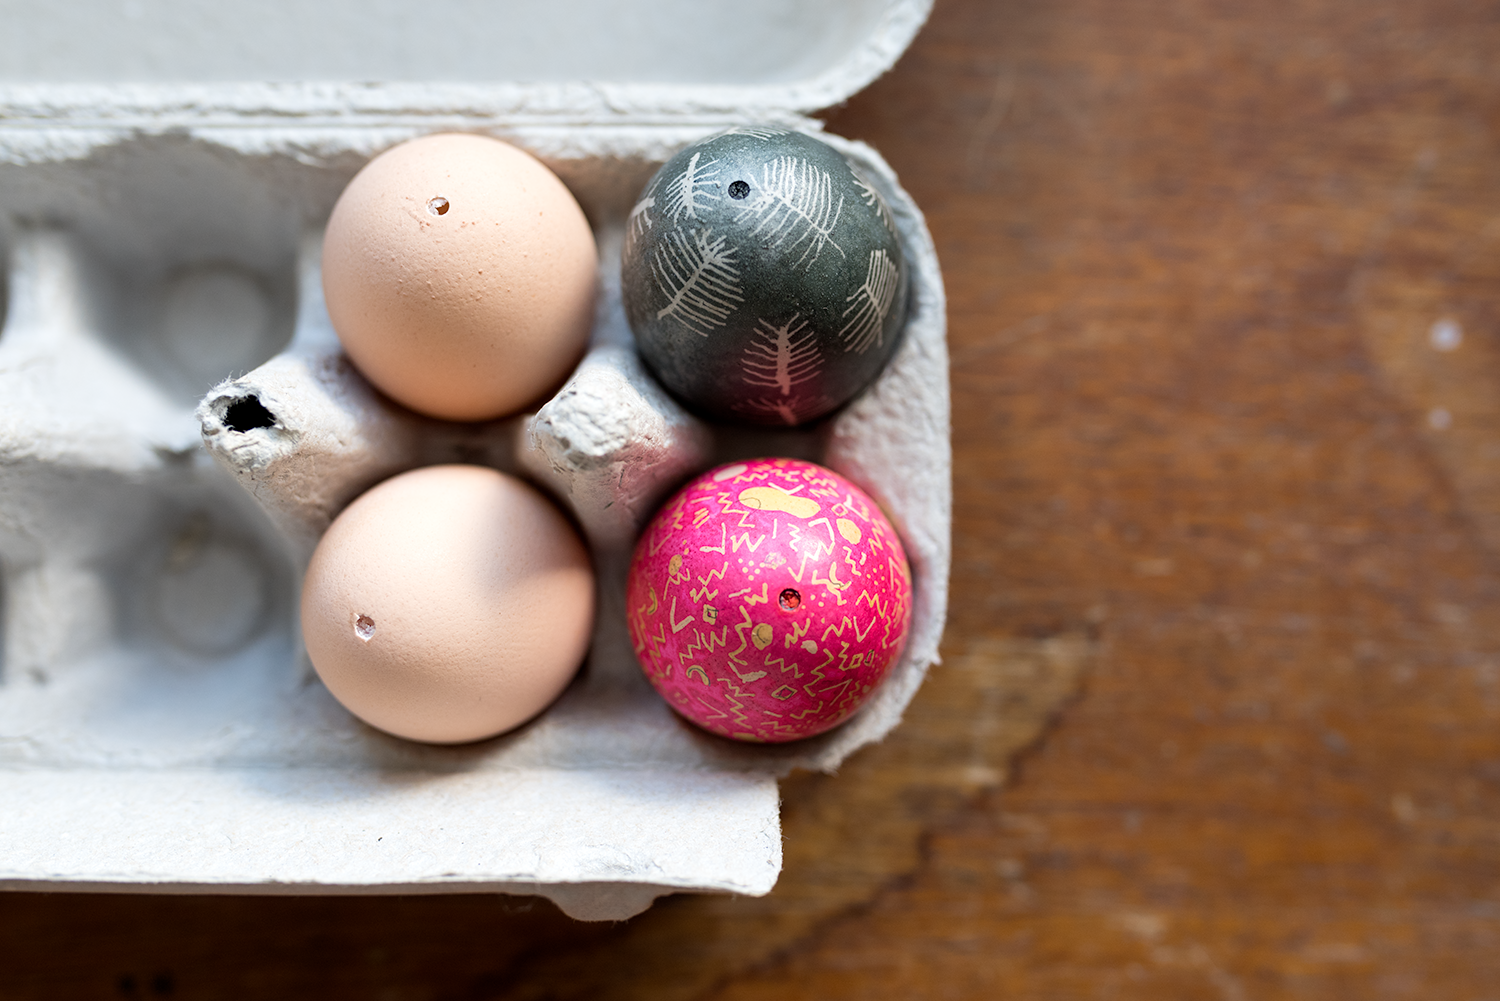
Mix up some dye and submerge the wax-decorated egg for at least 15 minutes. You can buy natural egg dye or try making your own, using beetroot or onion skin or eucalypt leaves or whatever else you can dream up.
You can now do some further decorating and then dye in additional colours, or you can stop at one colour.
To remove the wax, heat the egg using a hairdryer. Be careful not to burn yourself or blow the egg out of your hands (tricky!) As the wax heats up, use some paper towel to wipe off the wax. And that's it! Admire your handy work.