
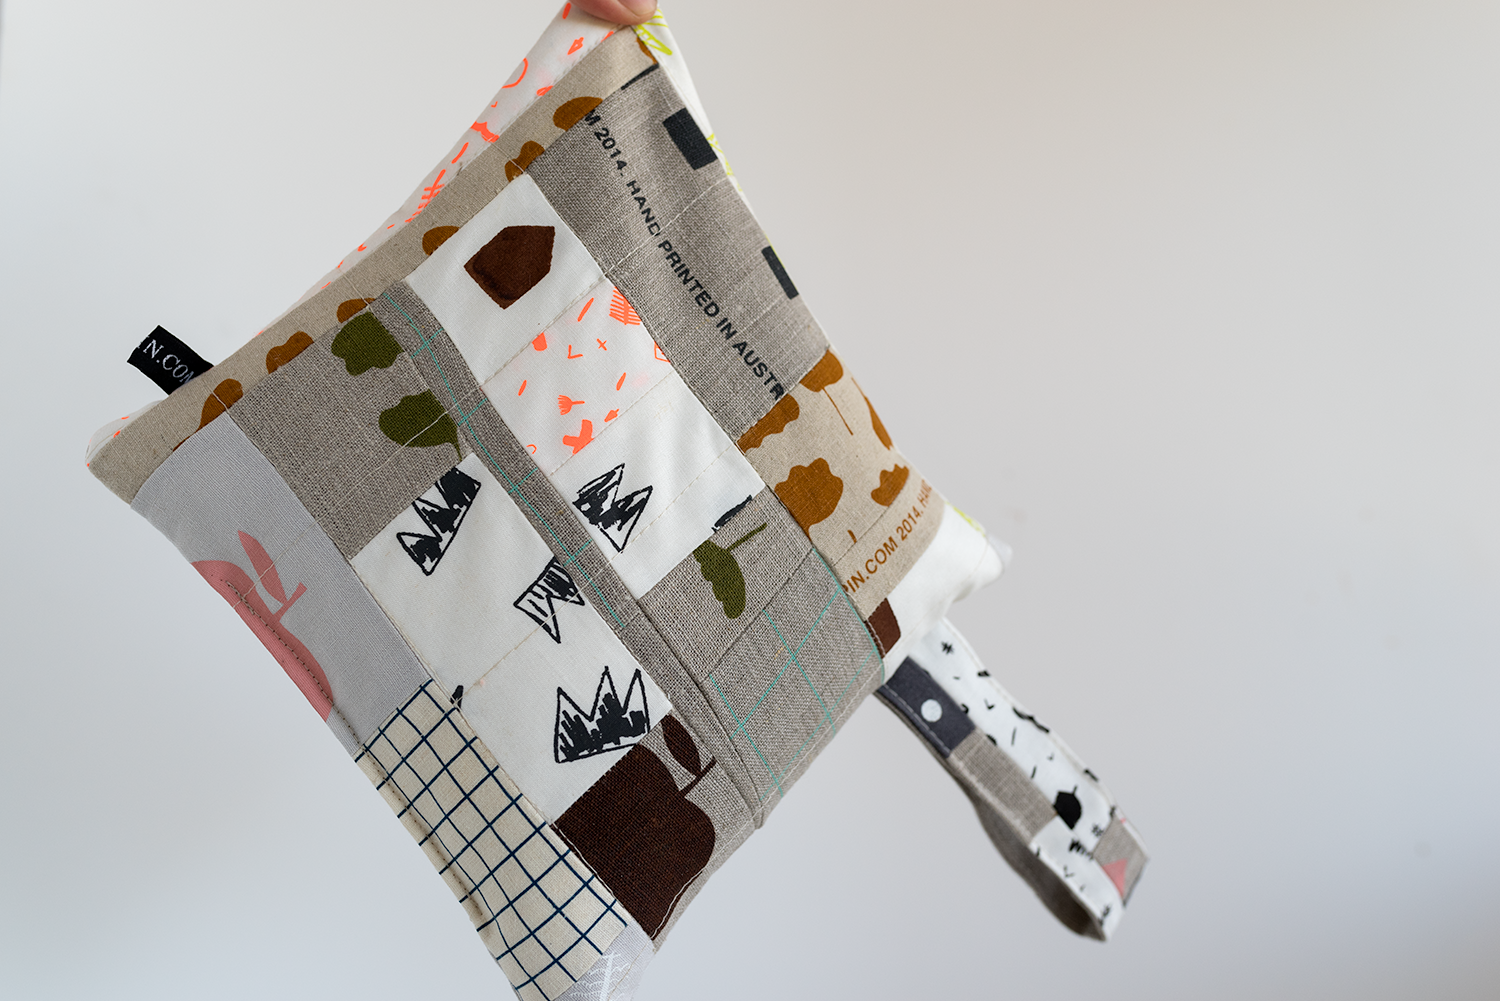
Heat bags (or wheat bags?!) are the best and I use them all the time - on sore shoulders, a weary back or just to keep me warm in winter. I've got a few long-shaped ones but none that are square, which seems like a massive oversight! So today, when I got some sewing mojo after making up some fabric scrap packs for the shop, I decided to make a big square patchwork heat bag and add a handle, so I can hang it up when it's not in use.
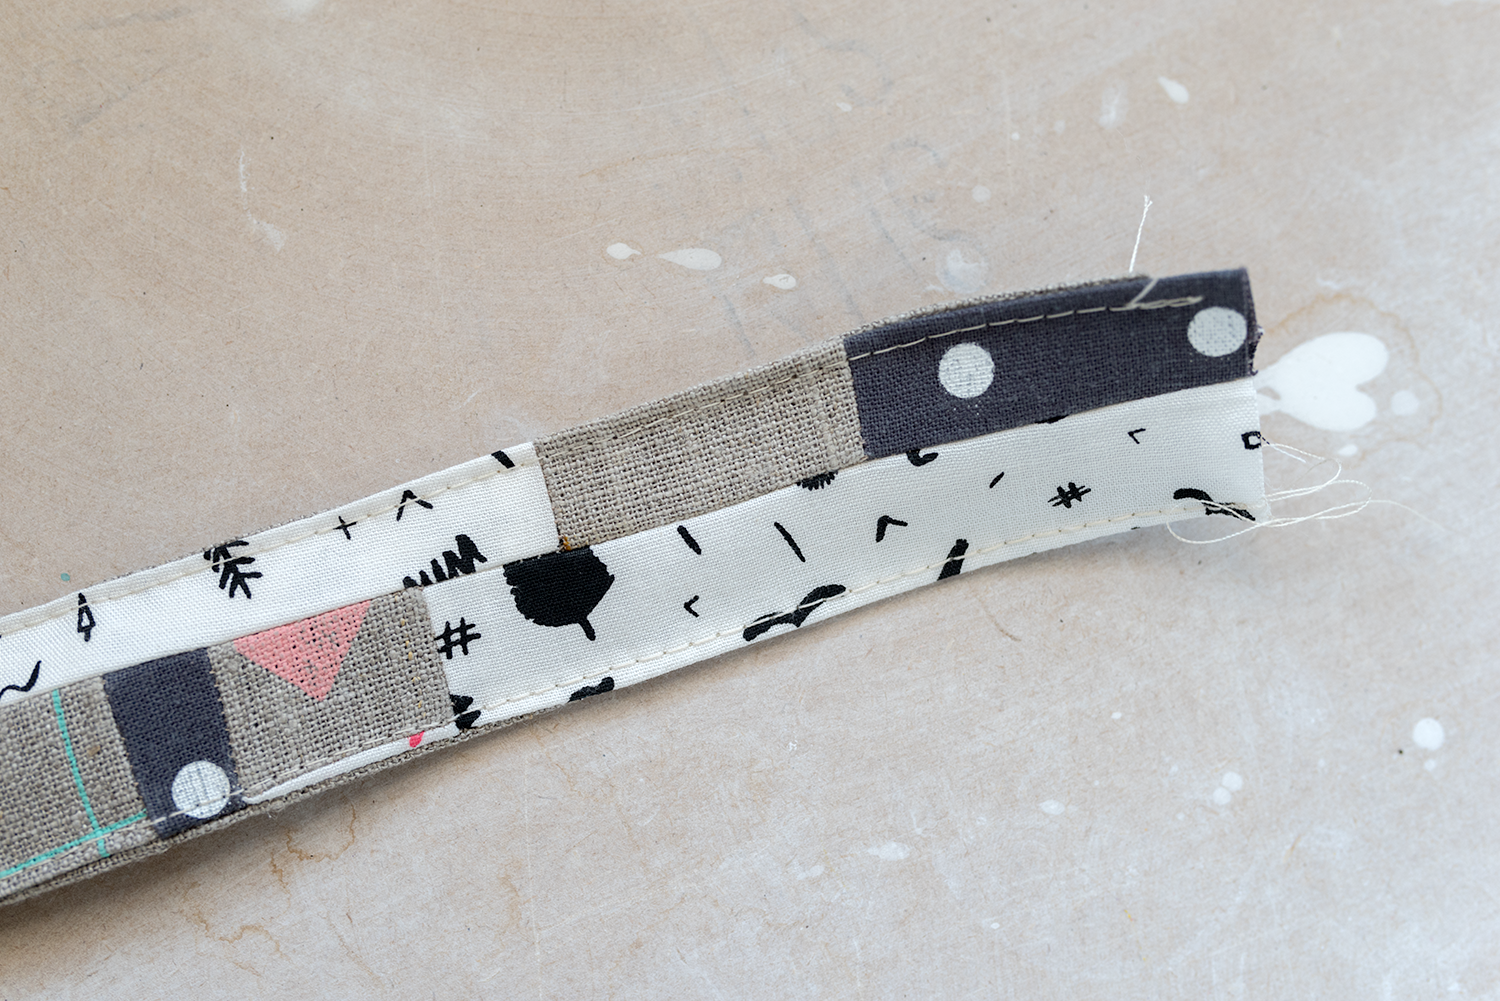
It was such a fun project and didn't take long at all - around 1-1.5 hours. I just grabbed a bunch of fabric scraps (some tiny!) that when laid out made a square around 32cm x 32cm. I then arranged the fabric in a way that looked good (sometimes cutting the bits to make them look/fit bitter), sewed 4-5 horizontal lengths into strips about 26-28cm long, sewed the strips together until they were about 24-26cm high, added some batting and did some very basic quilting stitches to hold it in place, made a handle (you don't have to patchwork this if it's easier to use a length of plain fabric, but add a bit of interfacing to give it body/strength), then sewed it up and filled it with wheat.
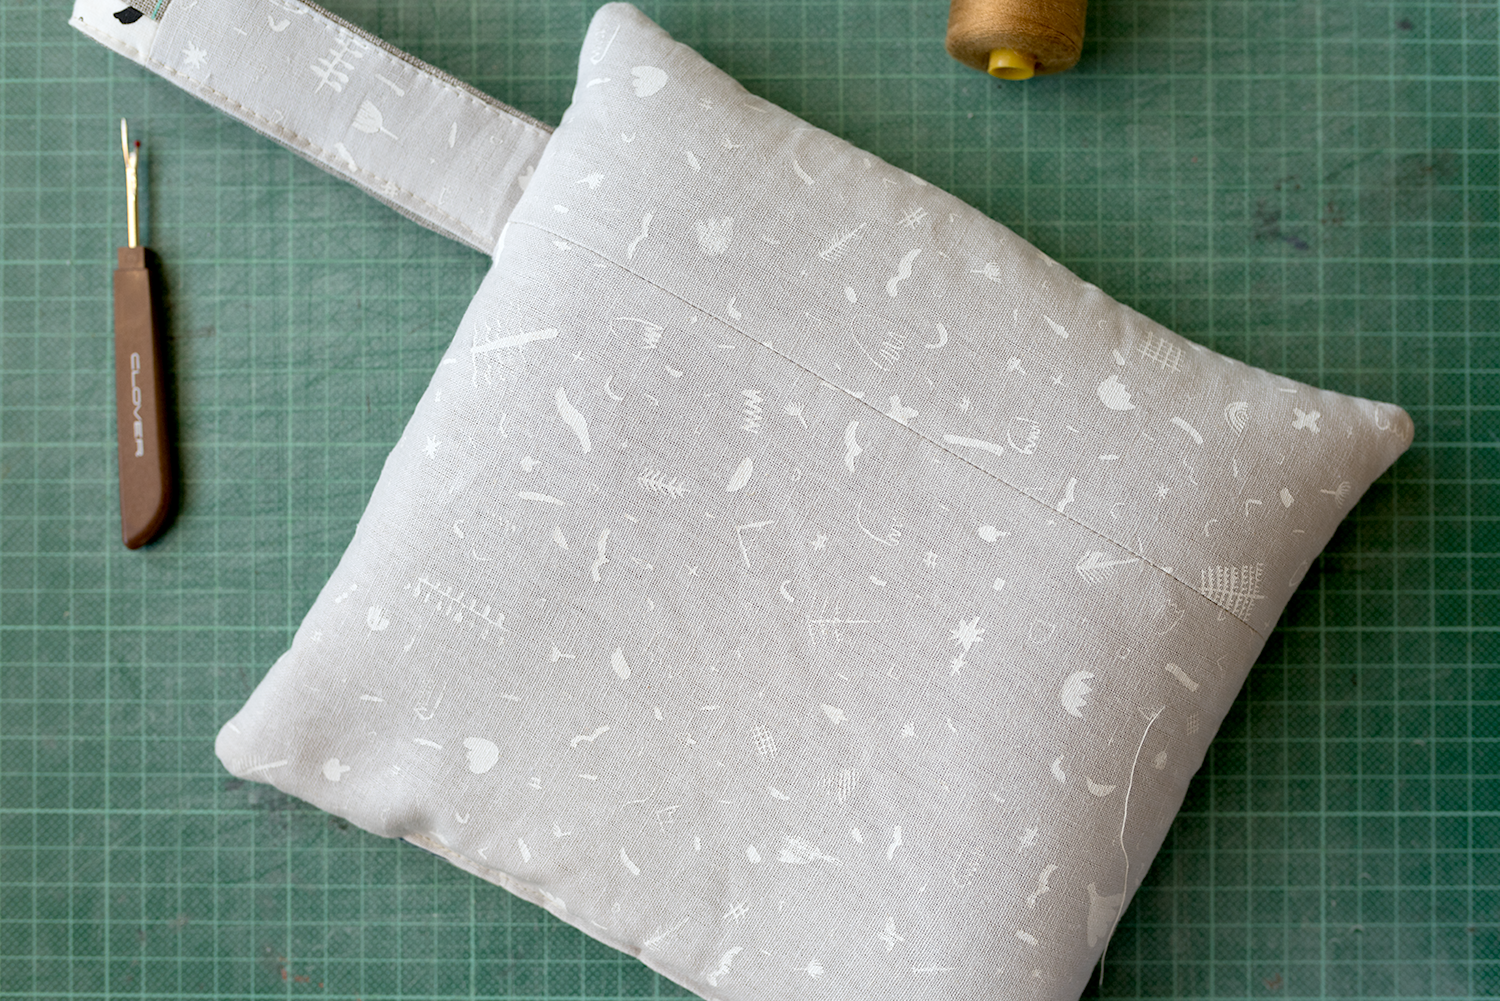
The bag's finished size is 24cm x 22cm (9.5" x 8.5") and the handle's 13cm x 4cm (5" x 1 1.5"), so if you want to make one a similar size add 1cm to each side for a seam allowance :)
Happy sewing!
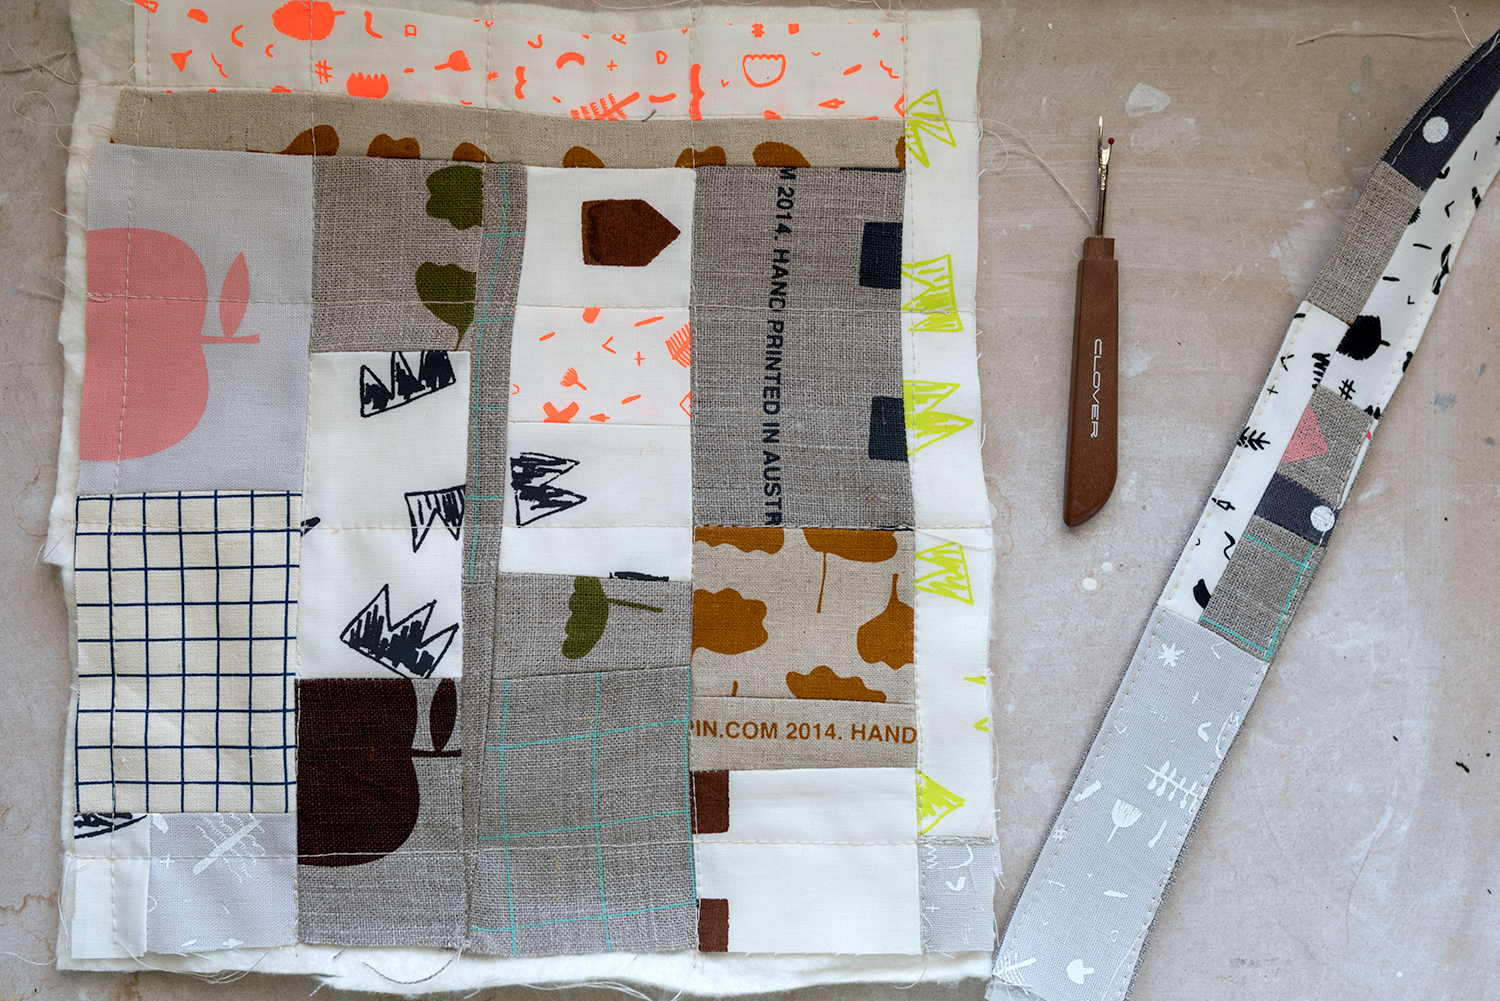
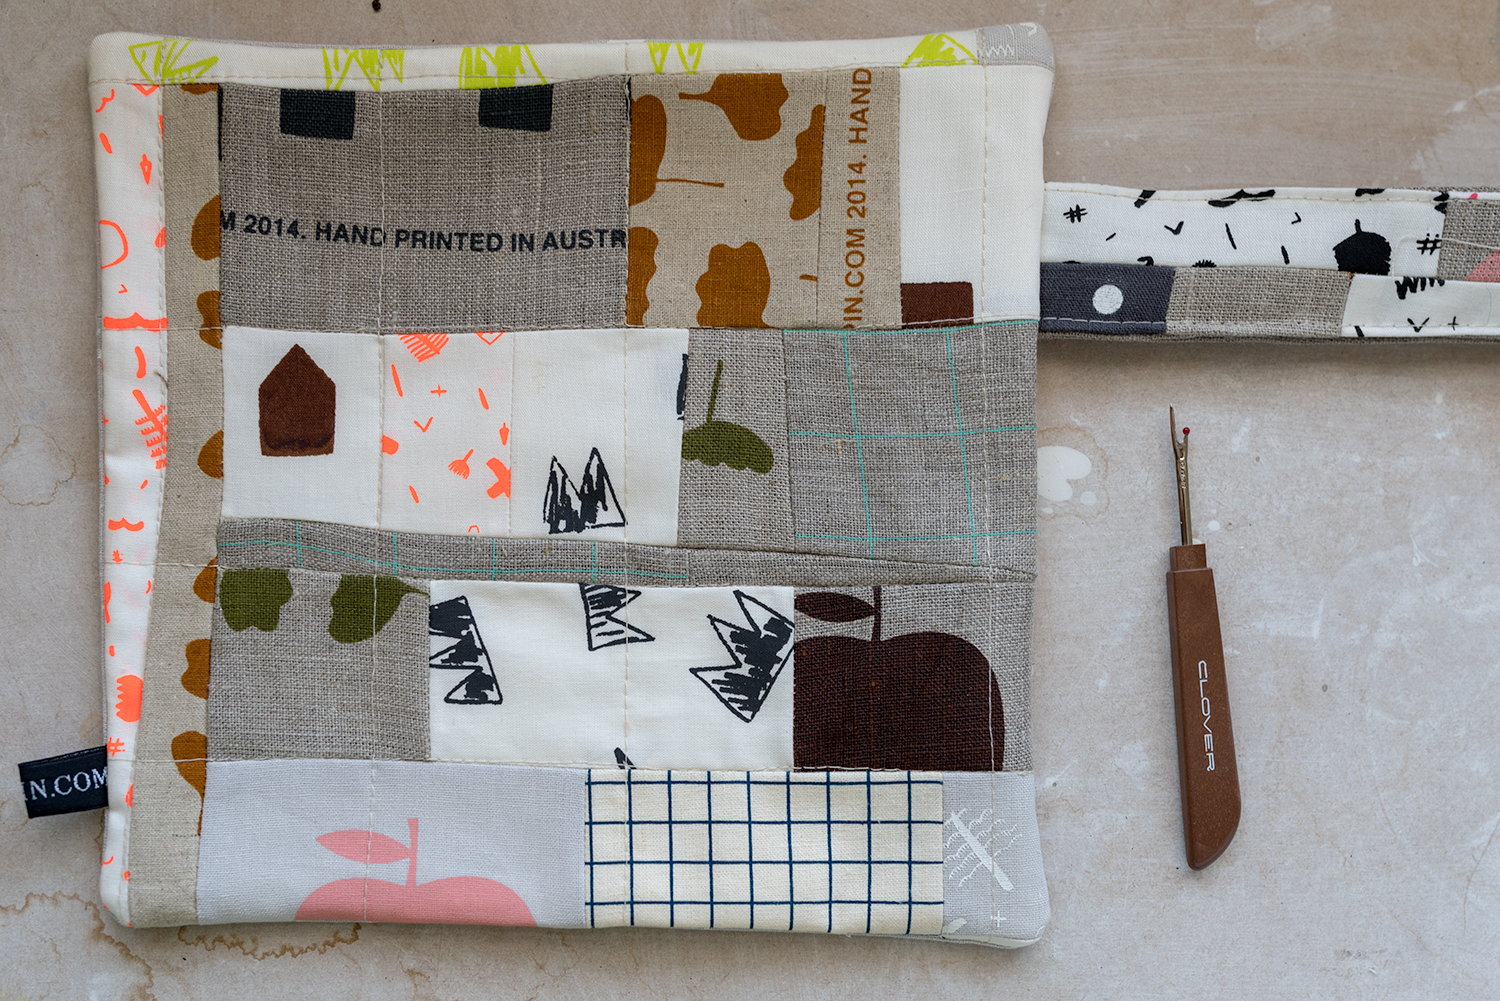

Click through to see some in progress shots


